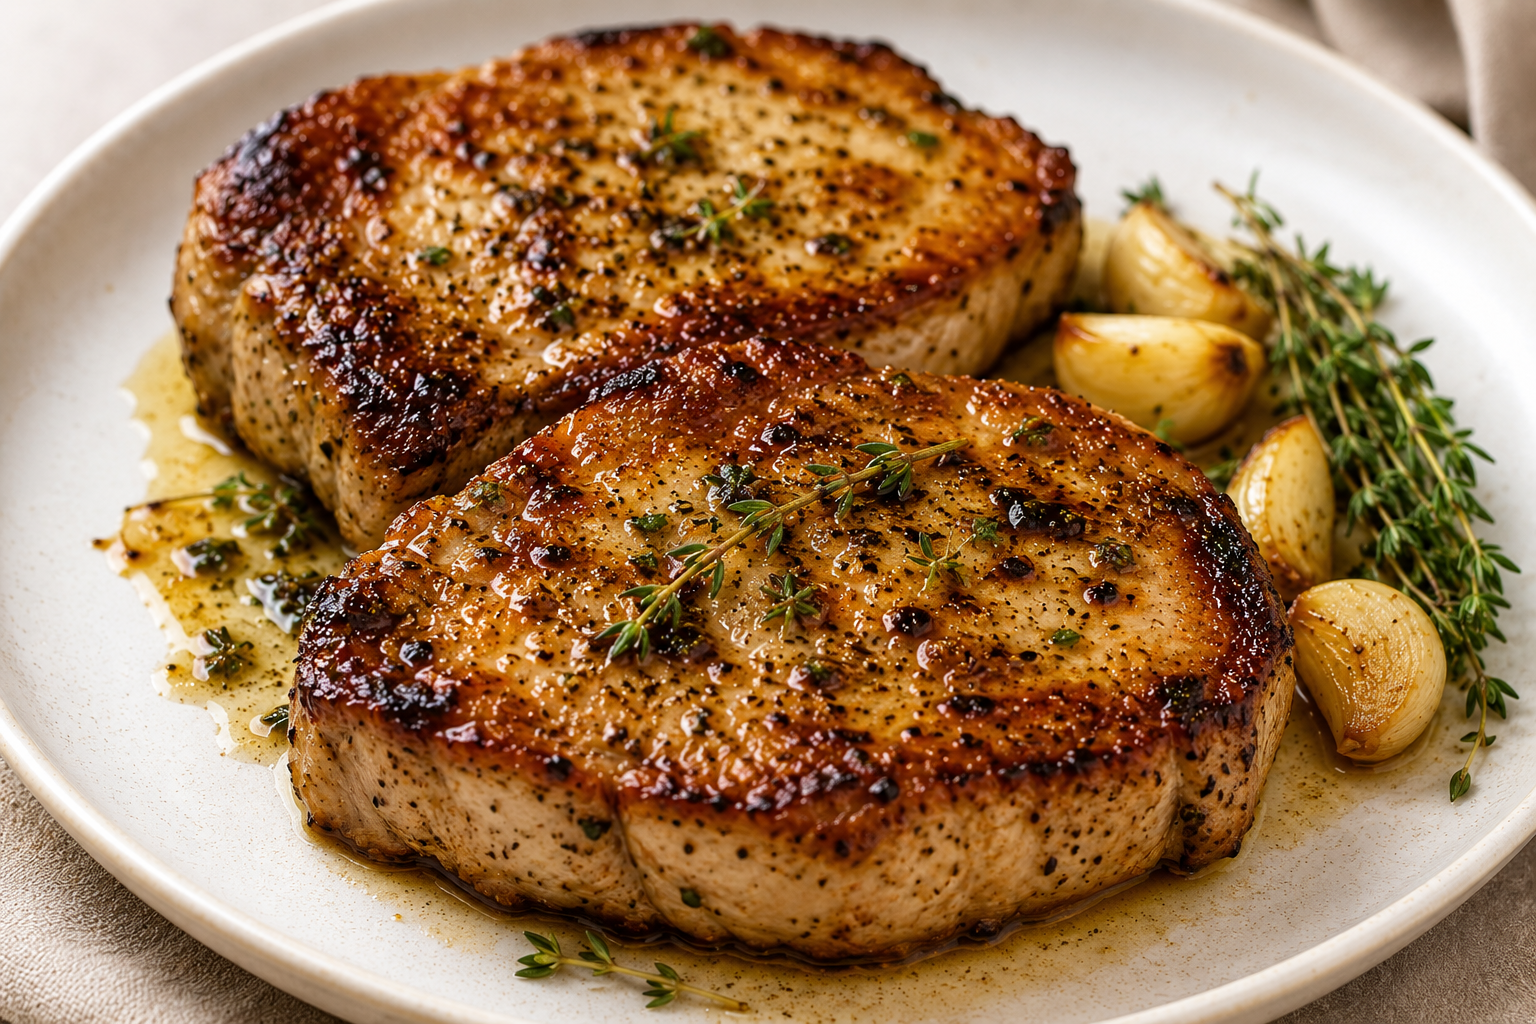
If you’ve never cooked pork chops sous vide before, you’re in for a treat.
This method takes all the guesswork out of cooking and gives you juicy, tender pork chops every single time. No more dry, overcooked meat—just perfectly cooked pork with a beautiful golden crust from a quick sear.
Whether you’re making a weeknight dinner or cooking for guests, this recipe is simple enough for beginners but tastes like something from a nice steakhouse.
Why You’ll Love This Recipe
- Foolproof and incredibly juicy
- Tender from edge to edge
- Full of garlic and herb flavor
- Finished with a rich butter baste
- Perfect for weeknight dinners or special occasions
Ingredients
- 2–4 thick-cut pork chops (1–1½ inches thick, boneless or bone-in)
- 1½ teaspoons kosher salt
- 1 teaspoon black pepper
- 1 teaspoon garlic powder
- 2 sprigs fresh thyme or rosemary
- 2 cloves garlic, smashed
- 2 tablespoons butter, divided
- 1 tablespoon neutral oil (avocado or canola)
Optional Flavor Boost
- ½ teaspoon smoked paprika
- Pinch of red pepper flakes
Sous Vide Temperature
For juicy pork with a slight blush in the center:
140°F (60°C)
For fully white pork:
145°F
Instructions
Step 1: Season the Pork
Pat the pork chops dry with paper towels.
Season both sides with the salt, pepper, garlic powder, and optional smoked paprika.
Place the pork chops into a vacuum-seal or zip-top freezer bag along with the smashed garlic, fresh herbs, and 1 tablespoon of butter.
Seal the bag using a vacuum sealer or the water displacement method.
Step 2: Sous Vide
Preheat your sous vide water bath.
Cook according to thickness:
- 1-inch pork chops: 1½ hours
- 1½-inch pork chops: 2 hours
Once finished, remove the pork chops from the bag and pat them completely dry. This is the secret to getting a beautiful crust.
Step 3: Sear
Heat a cast-iron skillet over high heat until it’s just beginning to smoke.
Add the neutral oil.
Sear each pork chop for 45–60 seconds per side until golden brown.
Reduce the heat slightly, then add the remaining tablespoon of butter along with the herbs.
Tilt the skillet and spoon the melted butter over the pork chops for about 15–20 seconds.
If your pork chops have a thick fat cap, stand them on their sides for a few seconds to render and crisp the fat.
Optional Garlic Butter Pan Sauce
Don’t waste all those flavorful browned bits!
After removing the pork chops, add:
- A splash of chicken broth or white wine
- Scrape the bottom of the skillet
- Simmer for about 30 seconds
- Stir in a small pat of butter
- Finish with a squeeze of fresh lemon juice
Spoon the sauce over the pork chops before serving.
Serving Suggestions
These pork chops pair wonderfully with:
- Roasted baby potatoes
- Garlic green beans
- Creamy mashed potatoes
- A fresh garden salad with vinaigrette
- Roasted asparagus
Tips for Perfect Sous Vide Pork Chops
- Choose pork chops that are at least 1 inch thick for the best results.
- Dry the pork thoroughly before searing to achieve a deep golden crust.
- Fresh herbs add incredible flavor while cooking in the bag.
- Don’t skip the final butter baste—it adds richness and helps develop a beautiful finish.
Frequently Asked Questions
Can I use bone-in pork chops?
Absolutely! Bone-in and boneless both work beautifully. Just use chops that are at least an inch thick.
Do I need a vacuum sealer?
No. A freezer-safe zip-top bag and the water displacement method work just as well.
Can I cook them longer?
Yes. Sous vide is very forgiving, and an extra 30–60 minutes won’t hurt the texture.
Can I make these ahead of time?
Yes! After the sous vide bath, refrigerate the sealed bag. When you’re ready to eat, simply reheat in the water bath for about 30 minutes and finish with a quick sear.
Once you try pork chops cooked sous vide, it’s hard to go back. They’re consistently juicy, incredibly tender, and packed with flavor thanks to the garlic, herbs, and buttery finish. Pair them with your favorite sides, and you’ve got an easy dinner that feels like a restaurant-quality meal right at home.
Leave a Reply