The DIY Dining Room Nook I Wasn’t Supposed to Touch
Some projects are born from inspiration.
This one was born from an argument.
I had been wanting to redo our dining room nook for a while. It wasn’t bad — it was fine. But “fine” has never really been my thing. Robert didn’t want me to mess with it, not because he hated the idea, but because he didn’t want to be pulled into another project.
And honestly? That part was fair.
The problem with Robert and me working together is simple:
- He likes plans.
- I like vision.
I hate plans because plans feel like commitments. Vision feels like freedom.
So anyway… one day we had a fight. And in the middle of it, I realized something important.
This was my window.
I pulled the baseboards out of the nook.
No going back now.
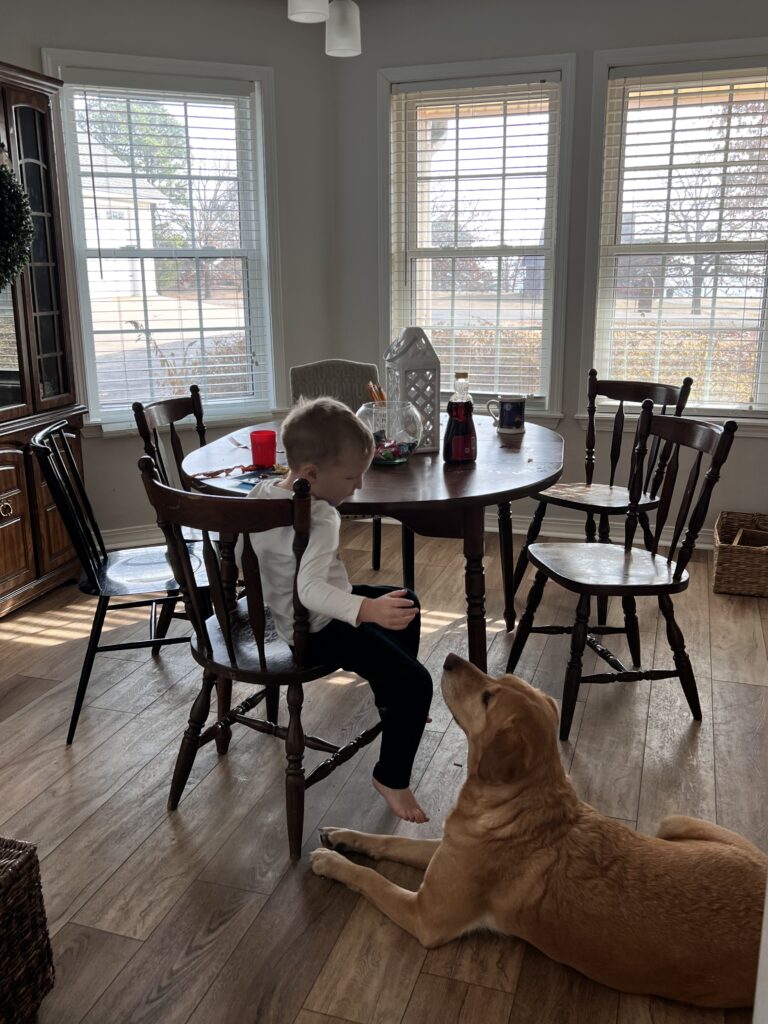
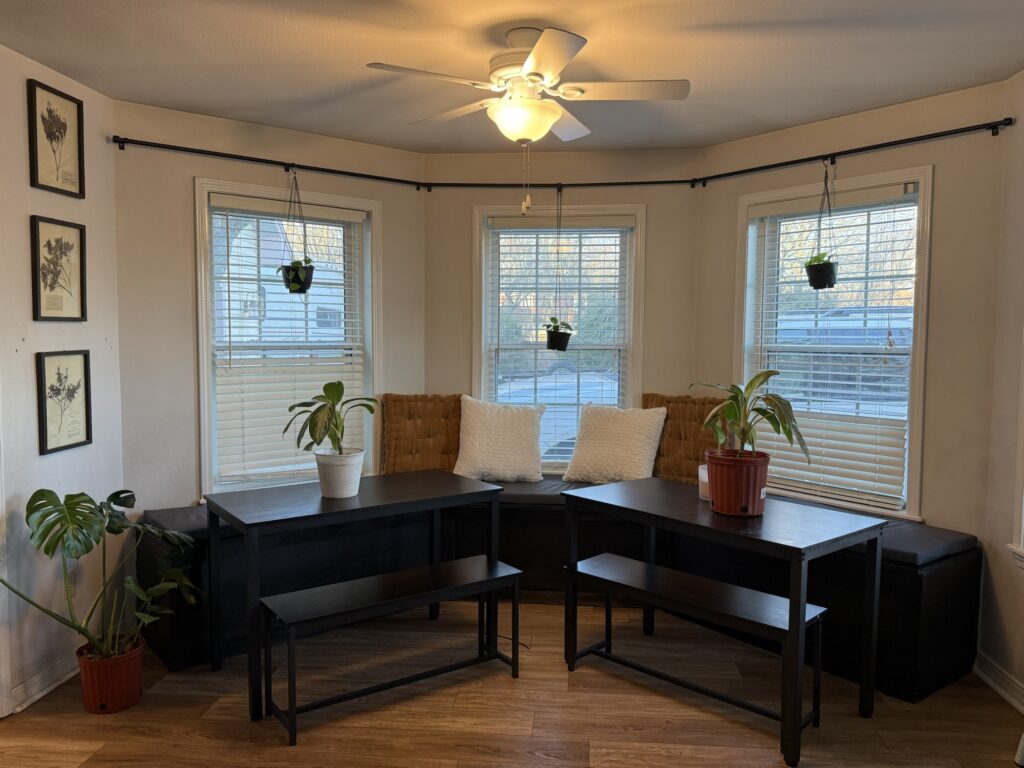
The Before
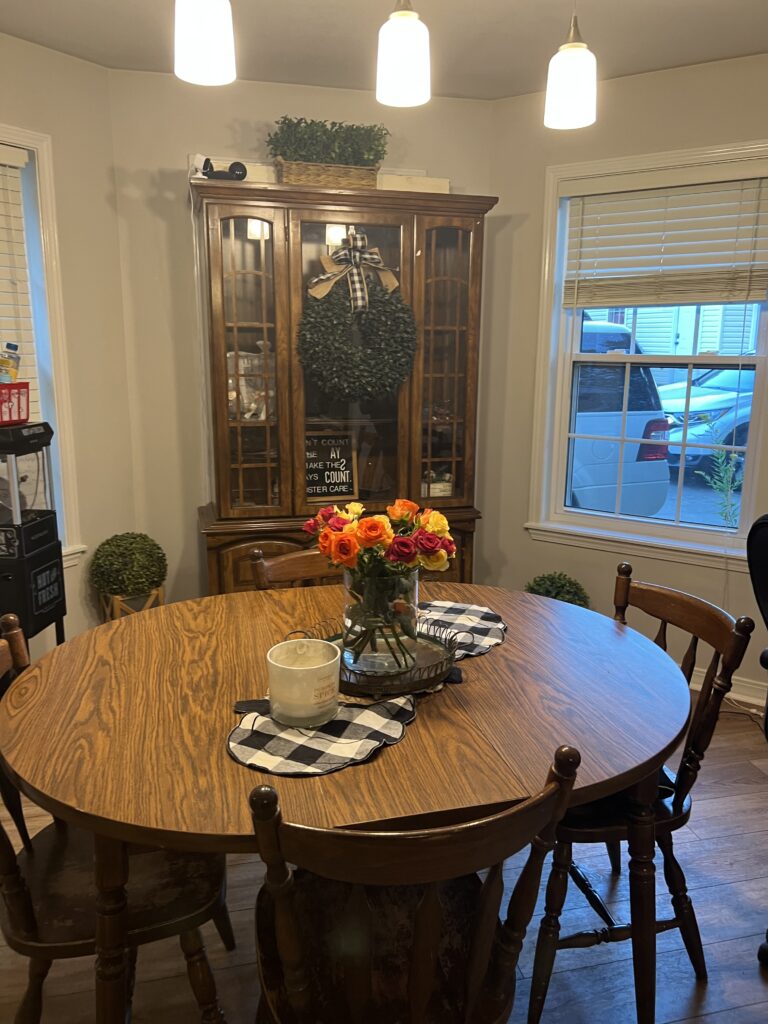

This is a different view of the book.
This was our dining nook before. A round table, chairs everywhere, kids slowly migrating toward my big wooden dining table — the one I try to reserve for looks and guests.
It worked.
But it wasn’t working for us.
Once the Baseboards Came Off
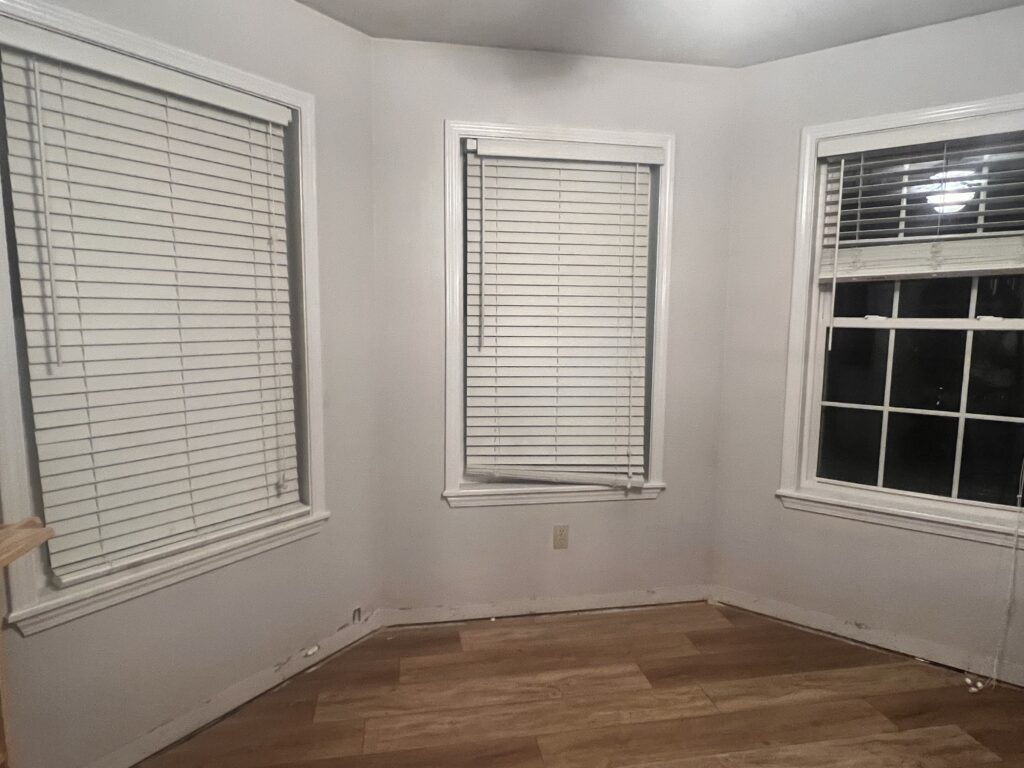
Once the baseboards came off, the decision was official.
I knew the real reason Robert didn’t want me to start this wasn’t the design — it was the labor. He didn’t want to get pulled in. So I decided I wouldn’t pull him in.
I’d do it myself.
I looked at inspiration photos, locked onto a vision, and decided on a built-in bench that wrapped the nook under three of the windows.
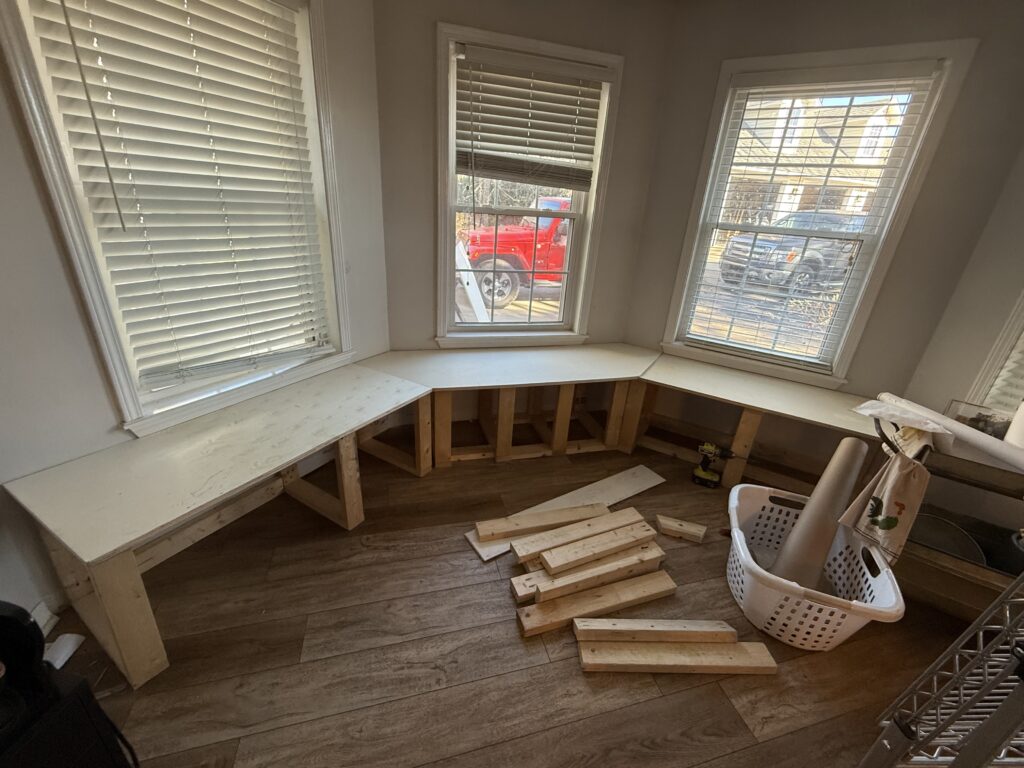
Building the Frame
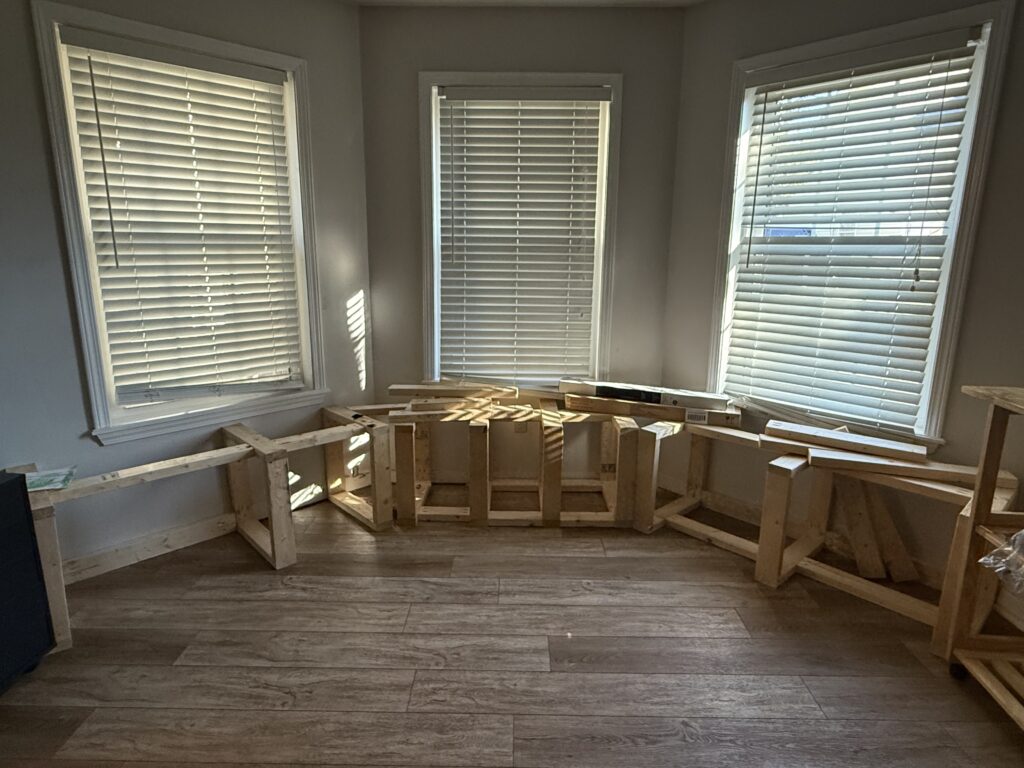
I used my Kreg Foreman to make ten rectangles, each one:
- 22 inches high
- 19 inches wide
That height was perfect for seating, and it tucked neatly right under our windows.
I laid them out as the framework, added boards between each rectangle, and screwed everything directly into the wall studs.
And then I did what I do best.
I stopped.
Life Happened
This was April.
Summer came. Kids. Schedules. Writing. Life.
The nook sat there — framed and unfinished — quietly judging me.
Then, as Christmas got closer, Robert asked if we wanted to just knock it out before family came.
Yes. Yes, I did.
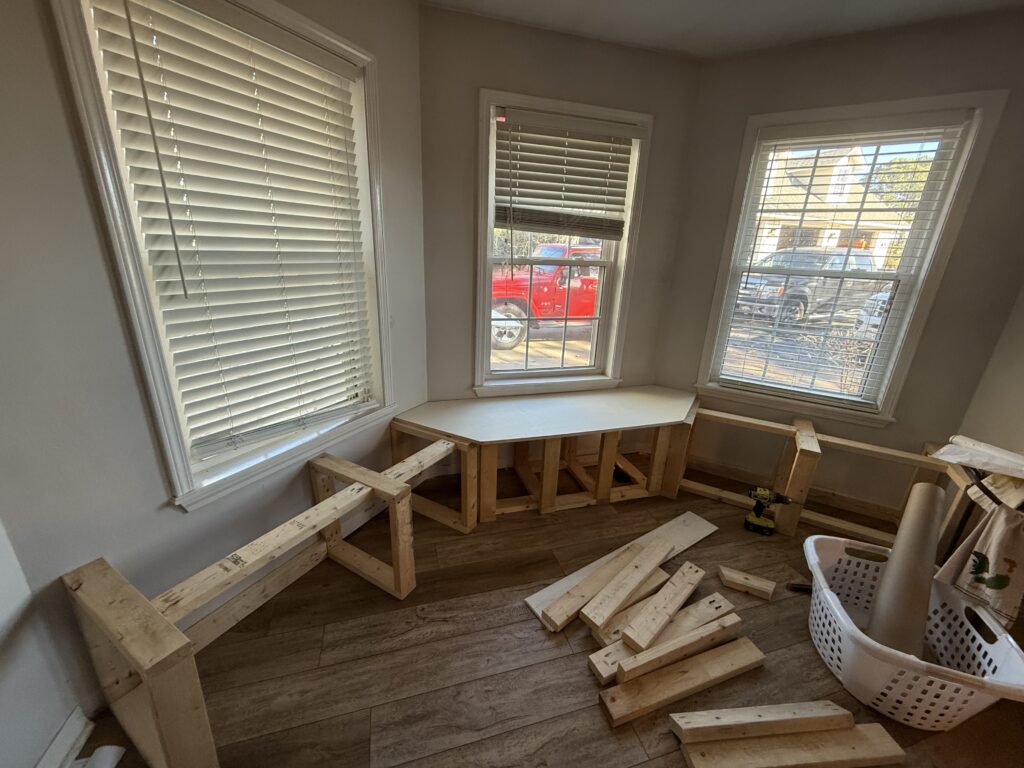
Where Vision Met Planning
This is where we finally met in the middle.
I wanted the bench top to have one big center cut with tricky angles, but simple rectangular pieces on the left and right. That way, only one piece would be complicated.
Robert likes logic. I like flow.
So we grabbed butcher paper, folded it on the framing exactly how I envisioned the seat, traced it, and laid it out. Once he saw it, it clicked.
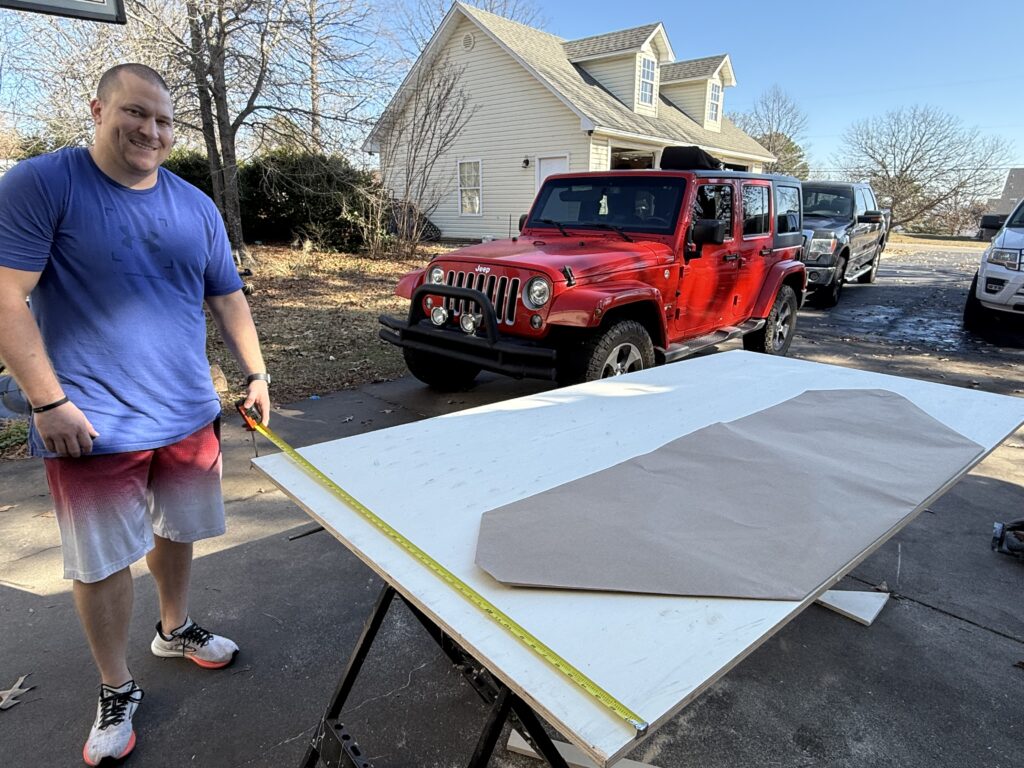
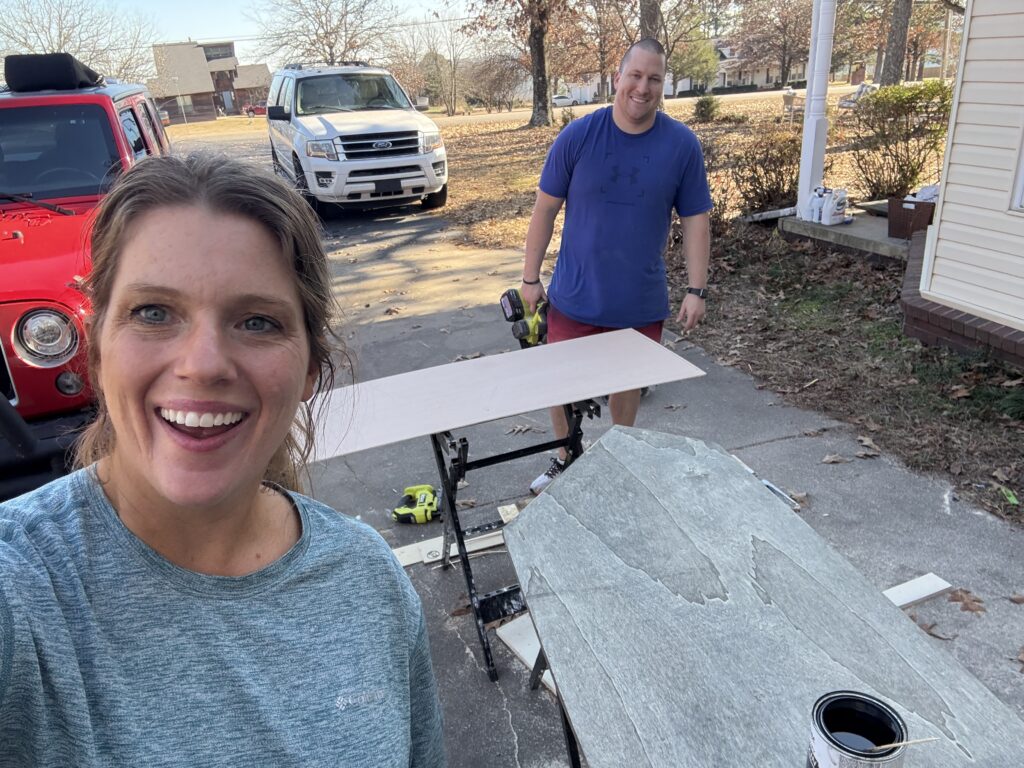
We traced everything onto ¾-inch plywood and cut it with a circular saw.
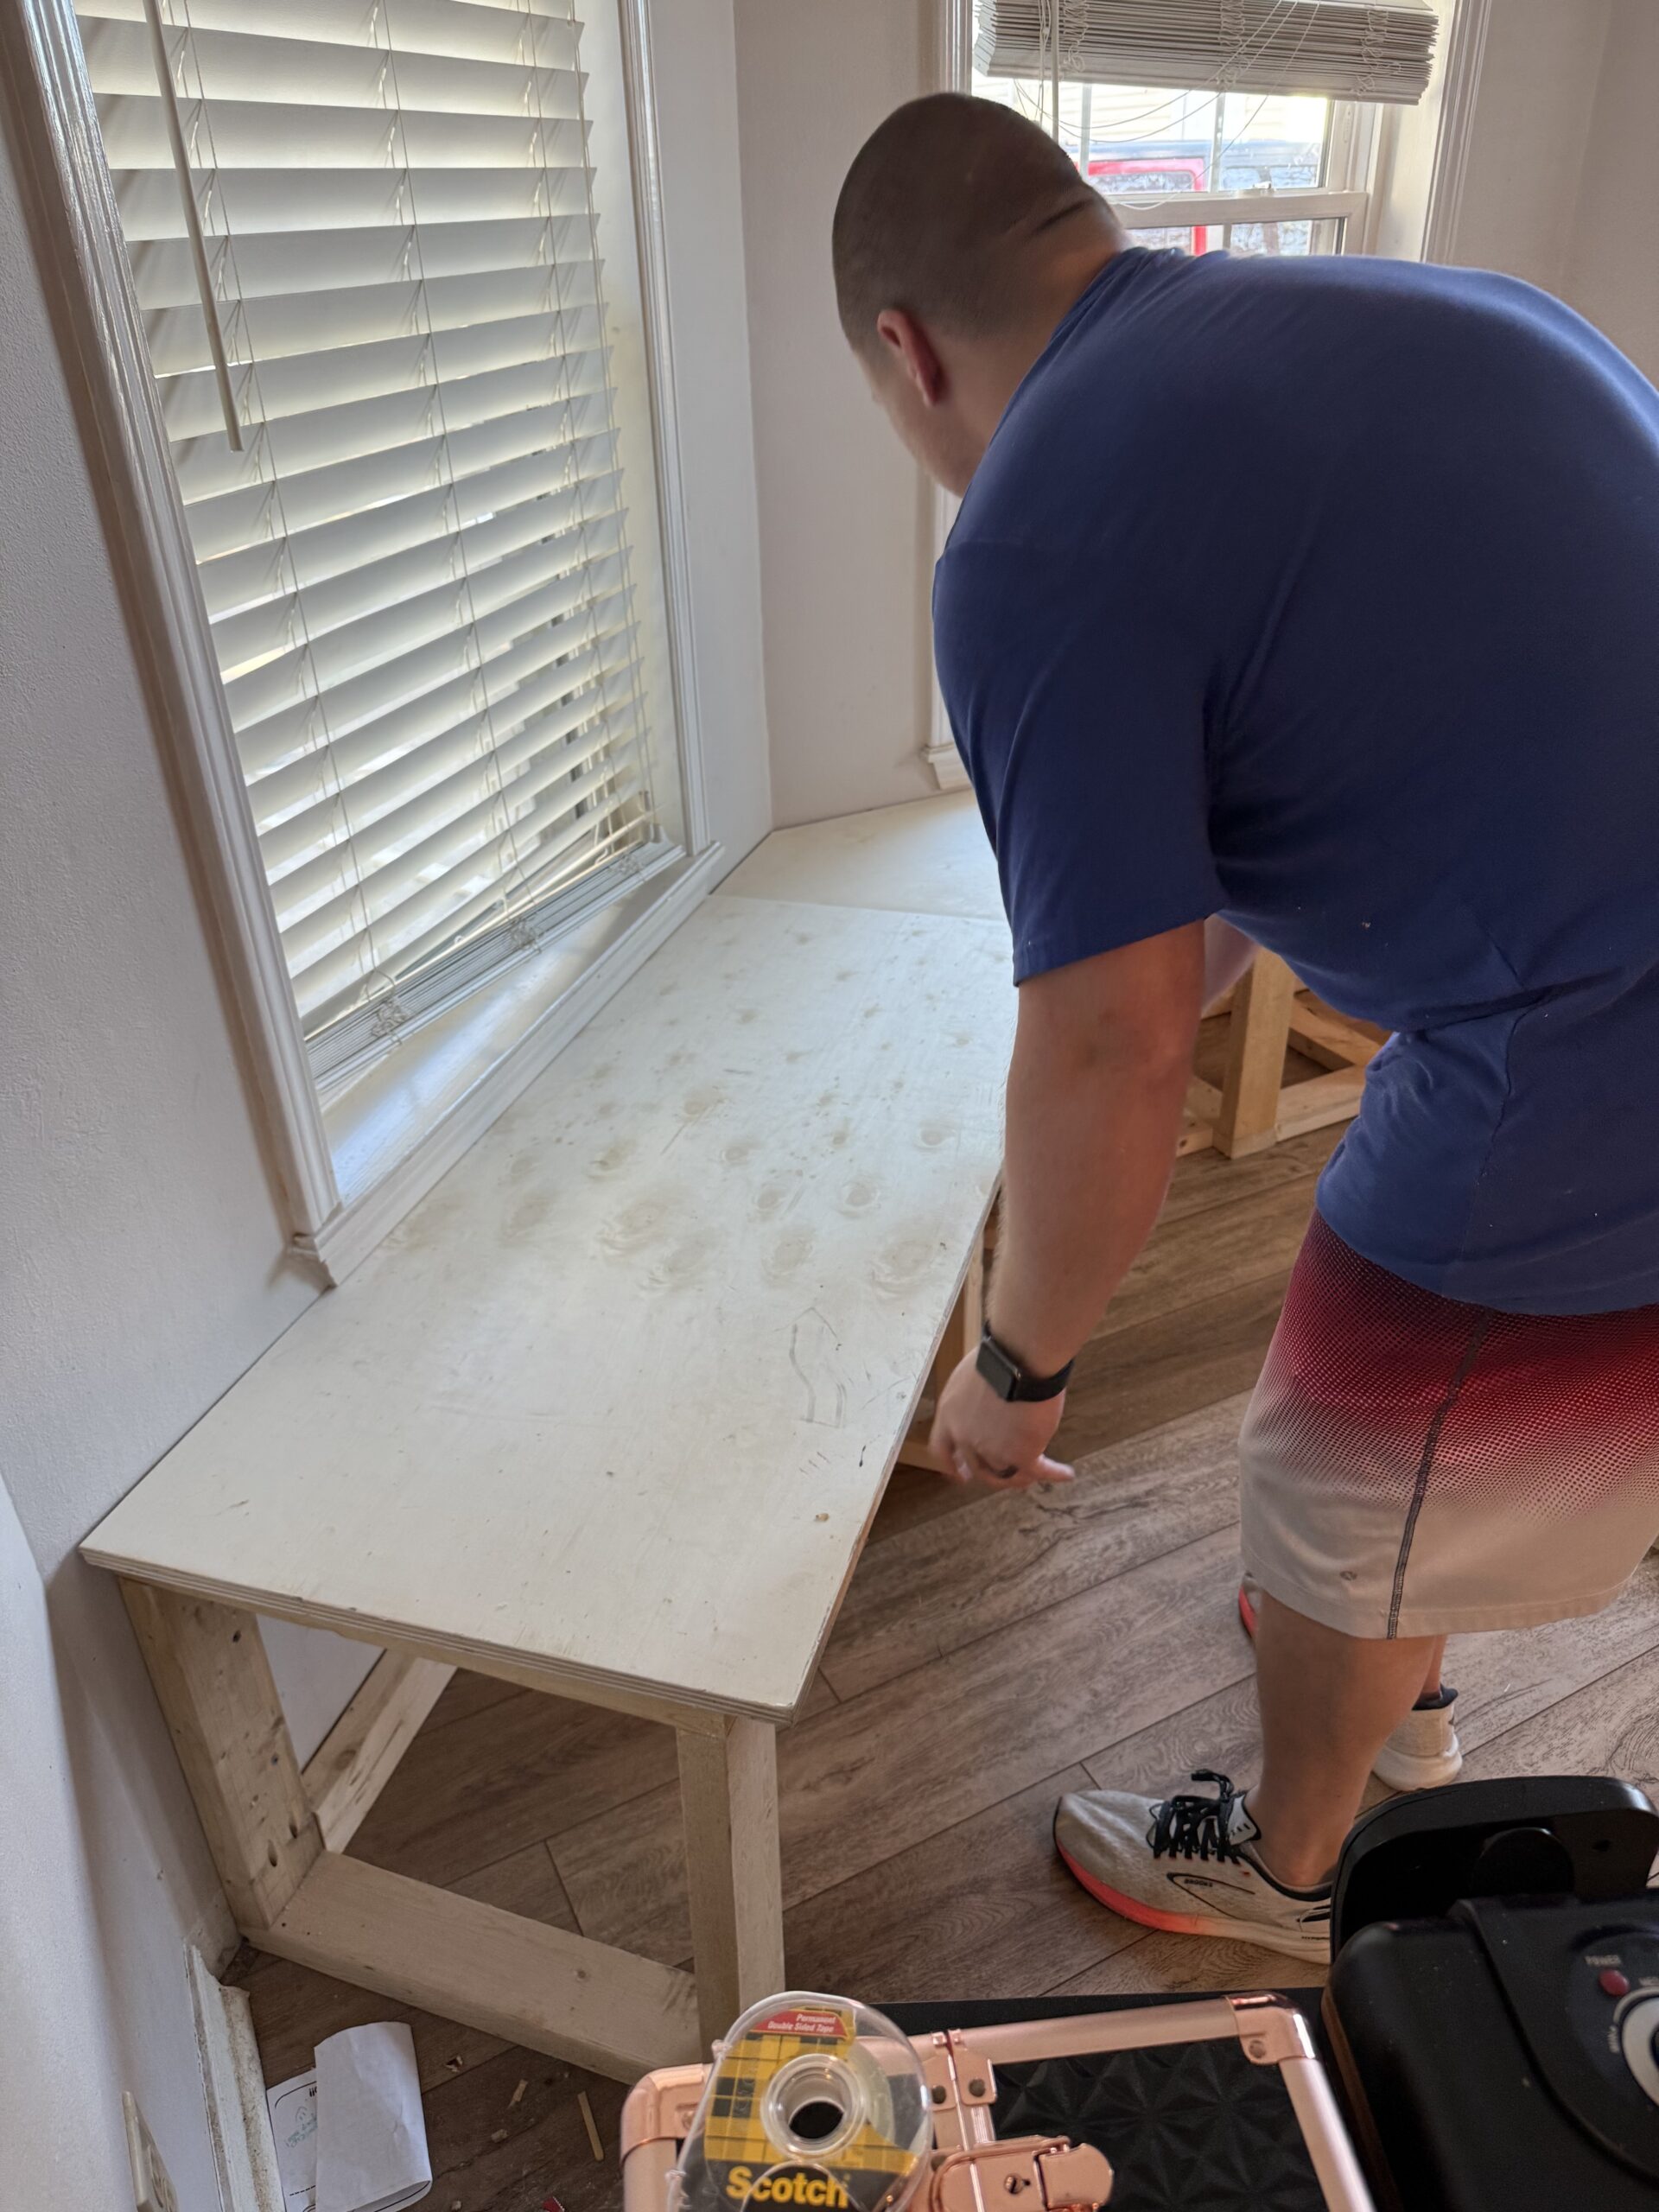
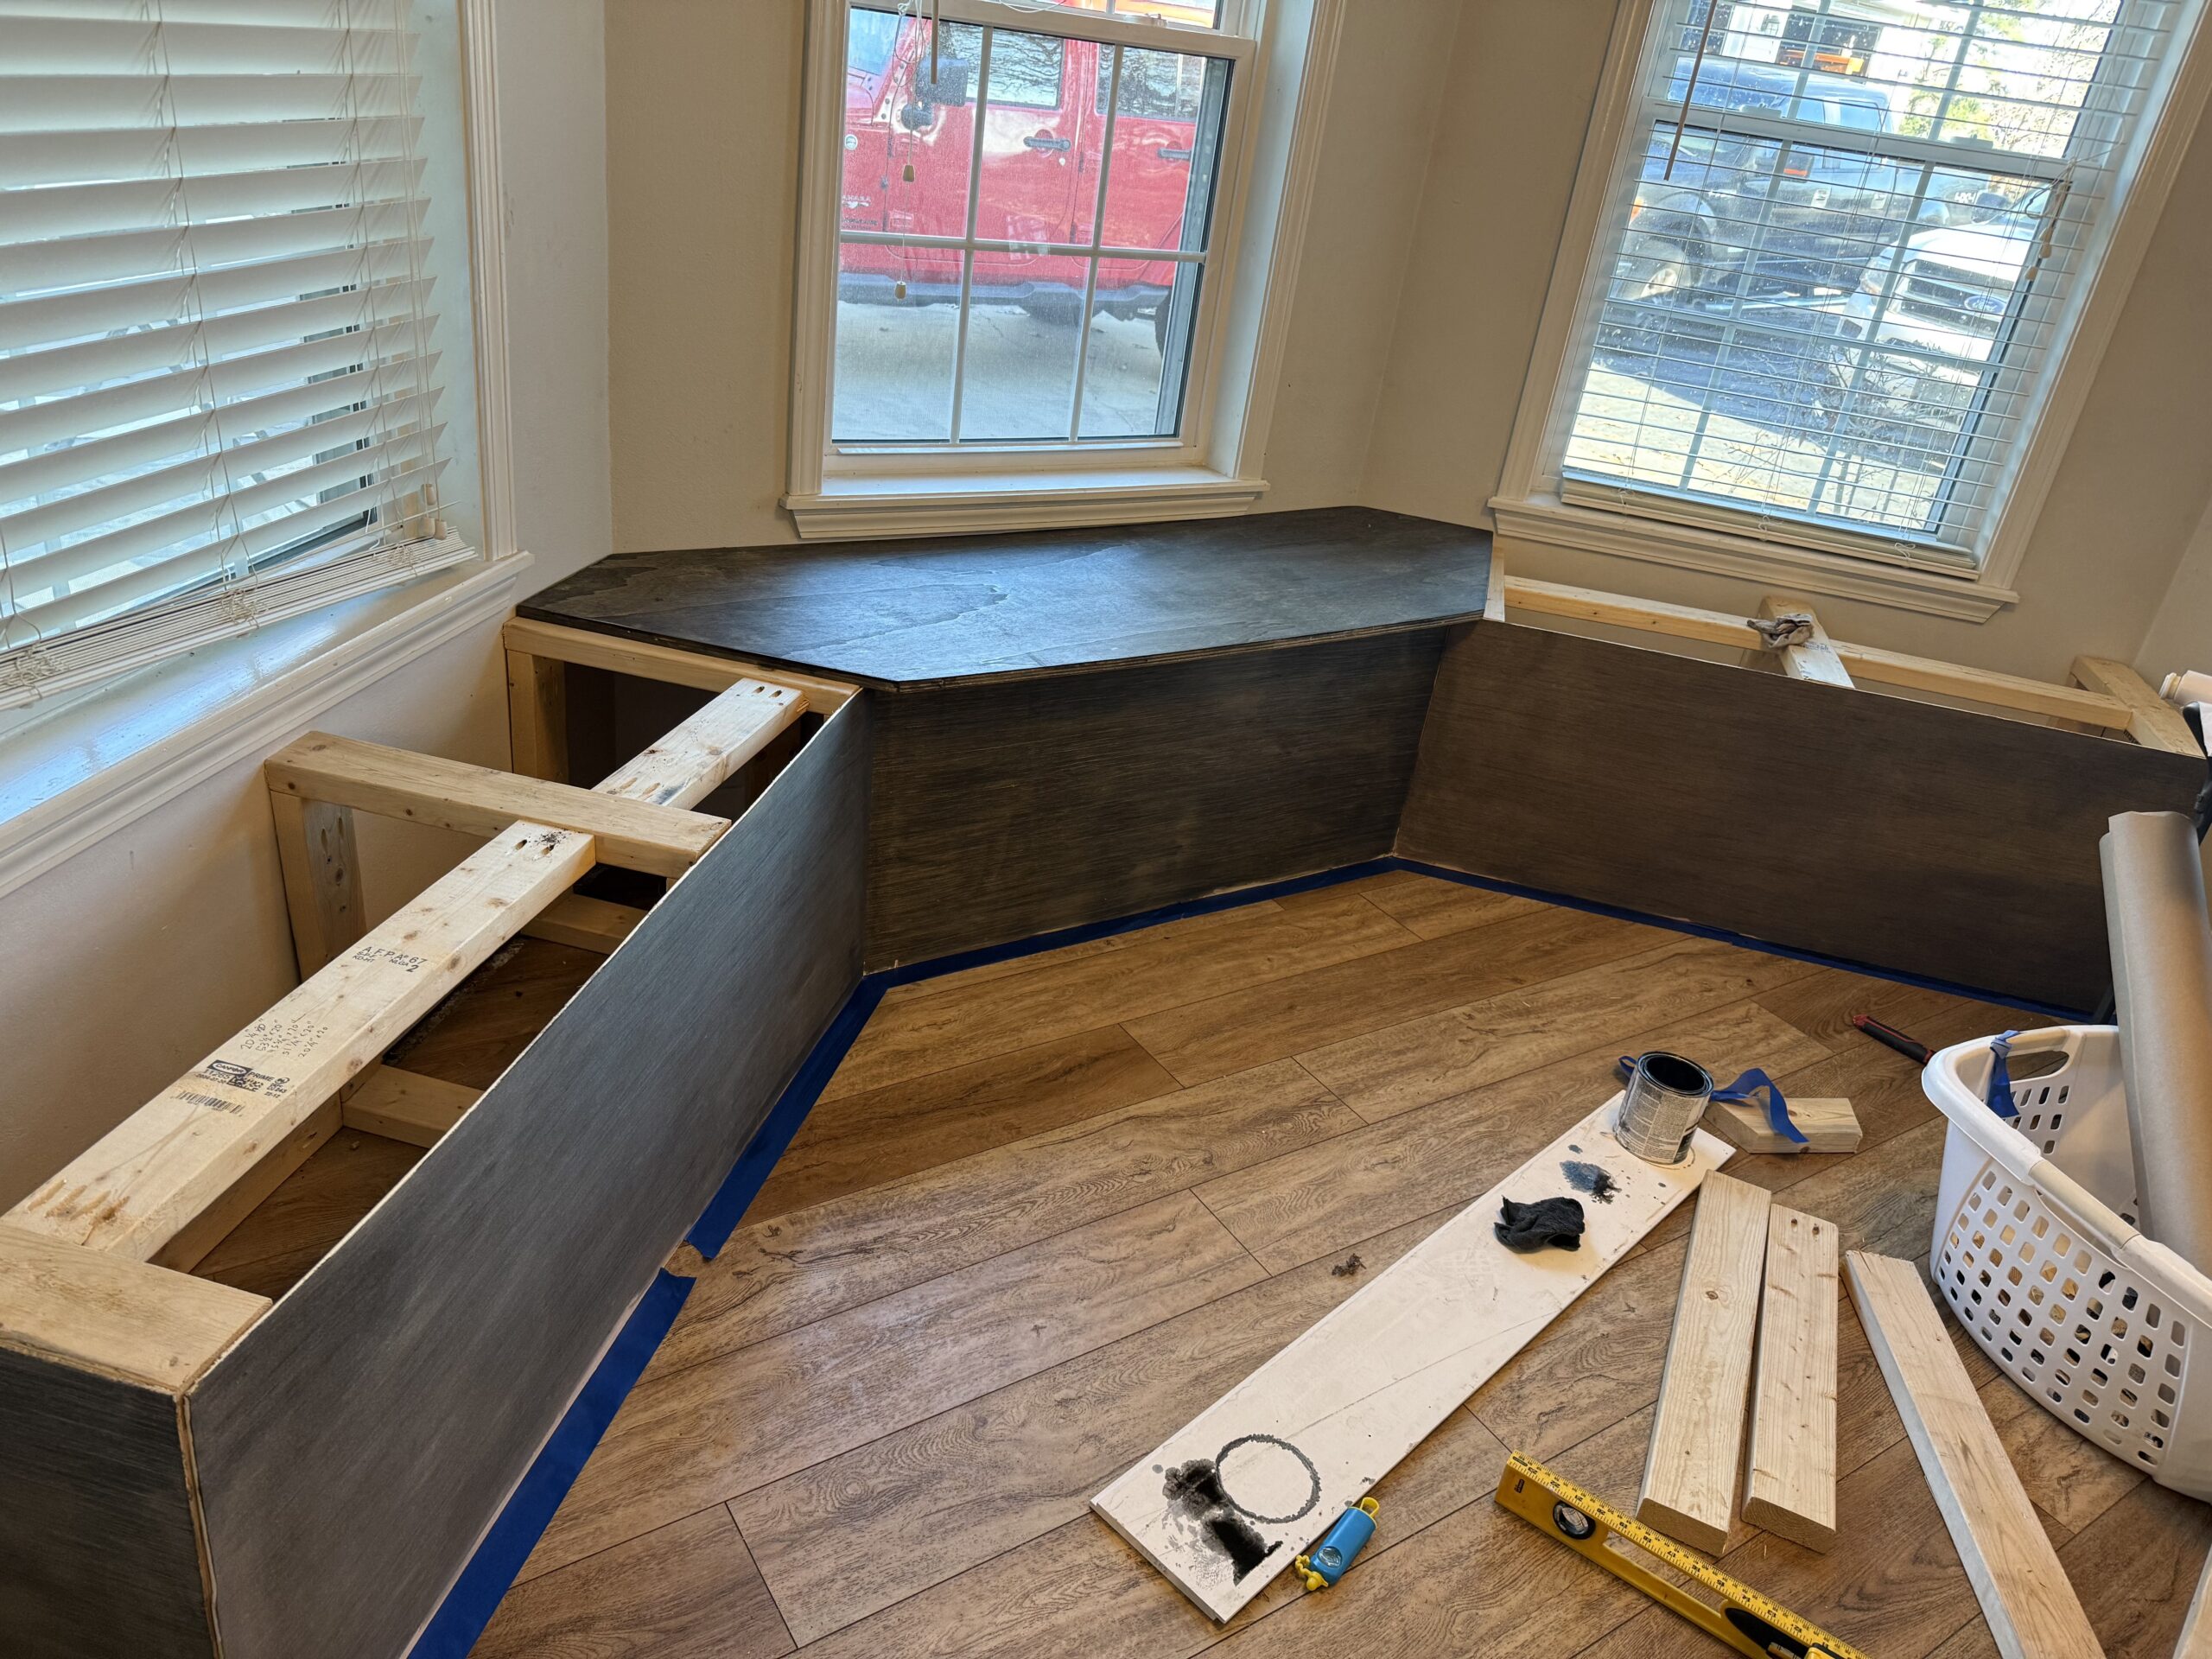
The Underlayment Debate
I wanted to use underlayment for the front and sides of the bench.
Robert was skeptical. Very skeptical.
But I’ve done this before, and I knew it would work. Underlayment is strong, smooth, and perfect once finished.
Honestly, I am obsessed with it!
He agreed — and then he cut all the pieces for me.
I won’t lie. Having his muscles involved was a gift.
The Finish
We sanded everything down and stained the bench black — clean, classic, and durable enough for real life.
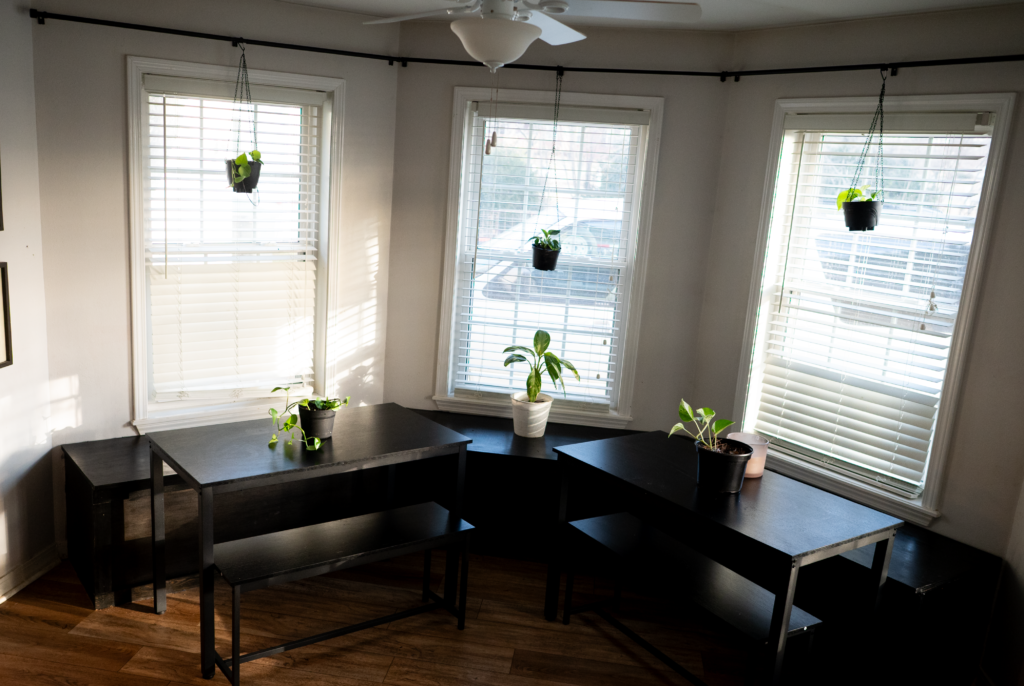
For the table, we found a matching table and bench set from Walmart that fit the space perfectly.
The kids finally had a casual place to eat in the mornings — and they stopped using my “nice” dining table.
That alone made this project worth it.
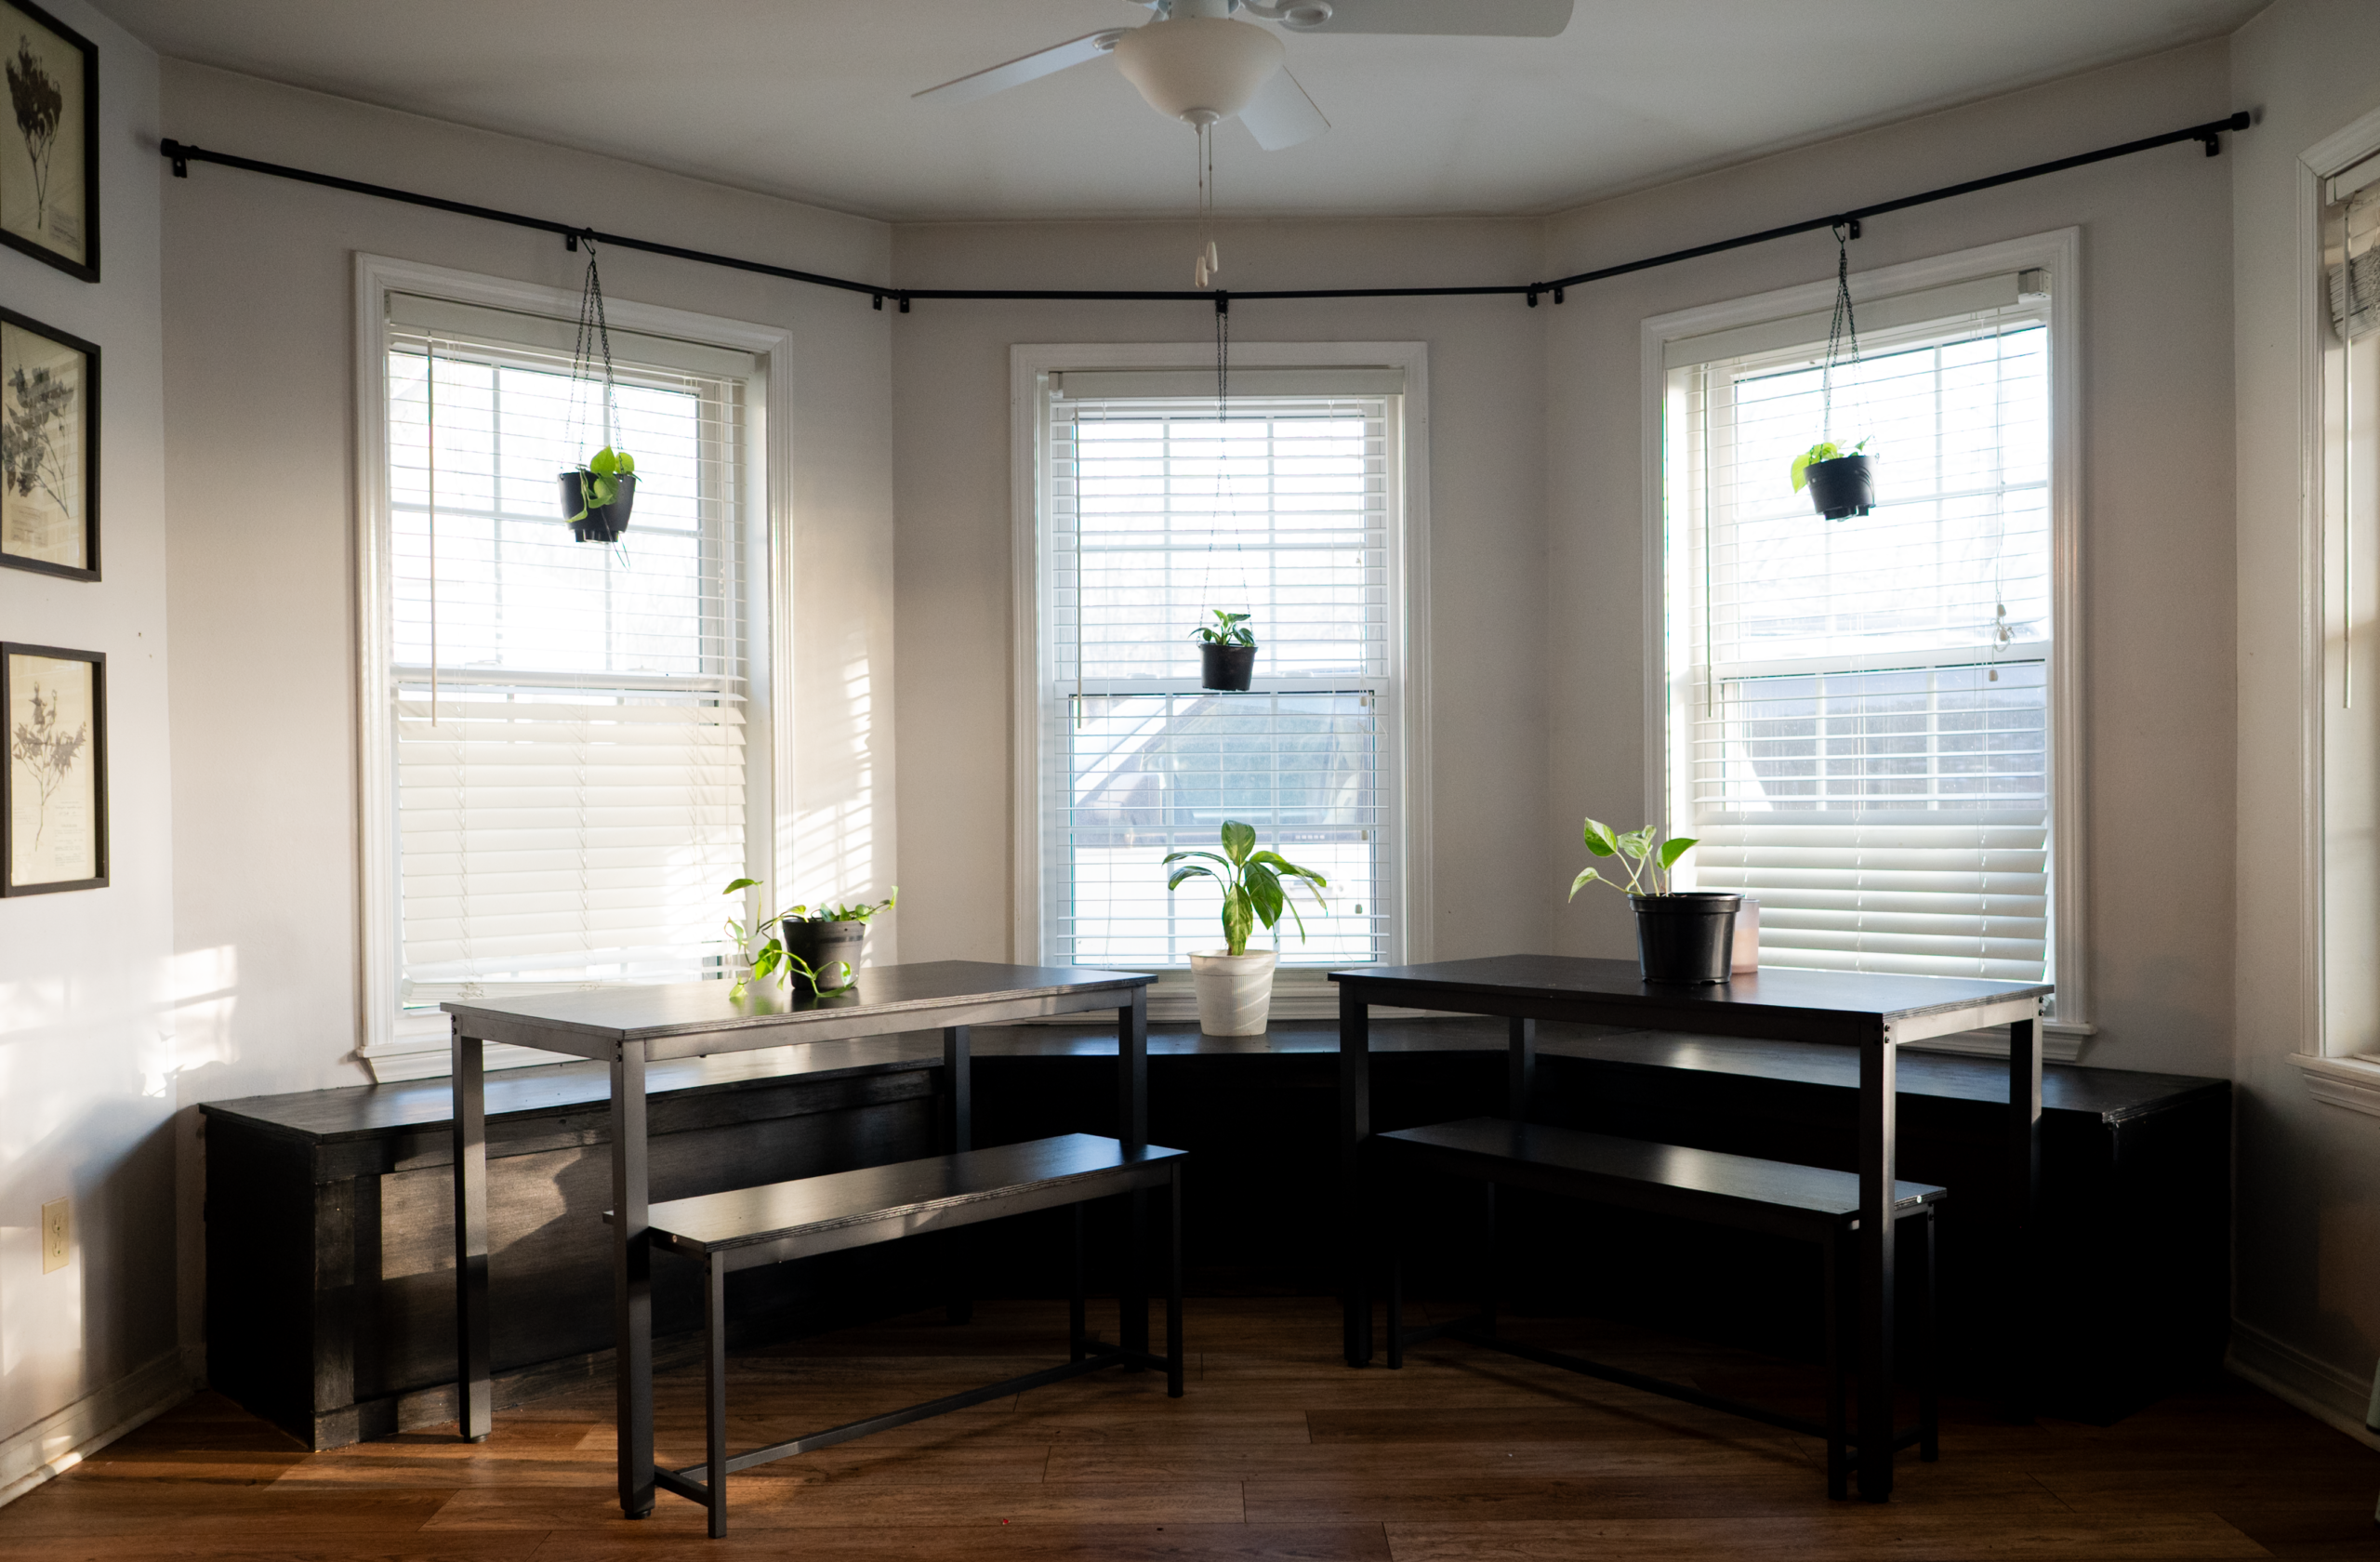
The After

The nook finally feels intentional.
It feels lived-in.
It feels like us.
And Robert?
He admits it was worth it.
Just don’t tell him I knew that from the beginning.

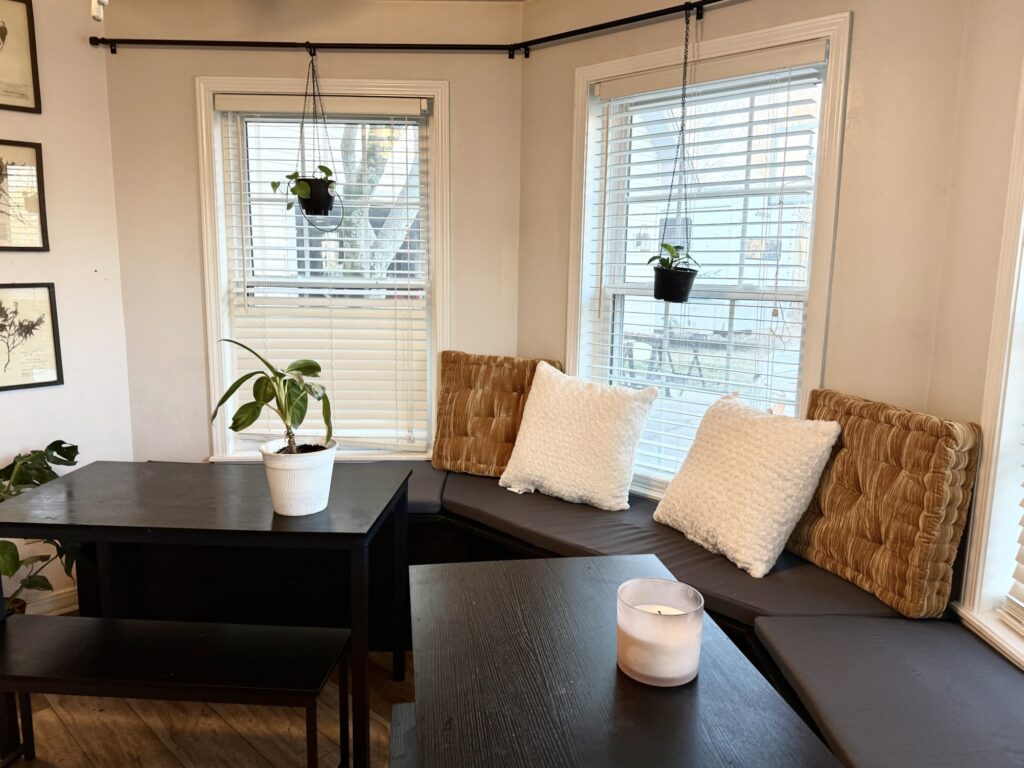
Yay! Our cushions came in today! Definitely my new reading spot.
Materials & Tools Used
I didn’t go into this with a hyper-detailed cut list or a rigid plan. This was a vision-first project, adjusted as we went. That said, here’s what we actually used to make it happen.
Materials
- 2×4 lumber (for bench framing)
- ¾-inch plywood (for the bench seat tops)
- Underlayment sheets (for the front and sides of the bench)
- Wood screws (various lengths)
- Pocket hole screws
- Wood filler
- Sandpaper (medium and fine grit)
- Black wood stain
- Clear protective finish (polyurethane or similar)
Tools
- Kreg Foreman (for pocket holes): click here.
- Circular saw: click here
- Drill / driver: click here
- Stud finder (any will do).
- Measuring tape
- Level
- Clamps (helpful but not mandatory)
- Sander (or a lot of patience): Click here
Helpful (But Optional)
- Butcher paper (for mapping tricky cuts)
- Pencil & marker for labeling pieces
- A second person with muscles who looks delicious (highly recommended)
This is absolutely a project you can do without fancy equipment, but having the right tools — especially for pocket holes and cutting plywood — makes it faster and cleaner.
Leave a Reply